How to Crop an Image Online Free (No App Needed)
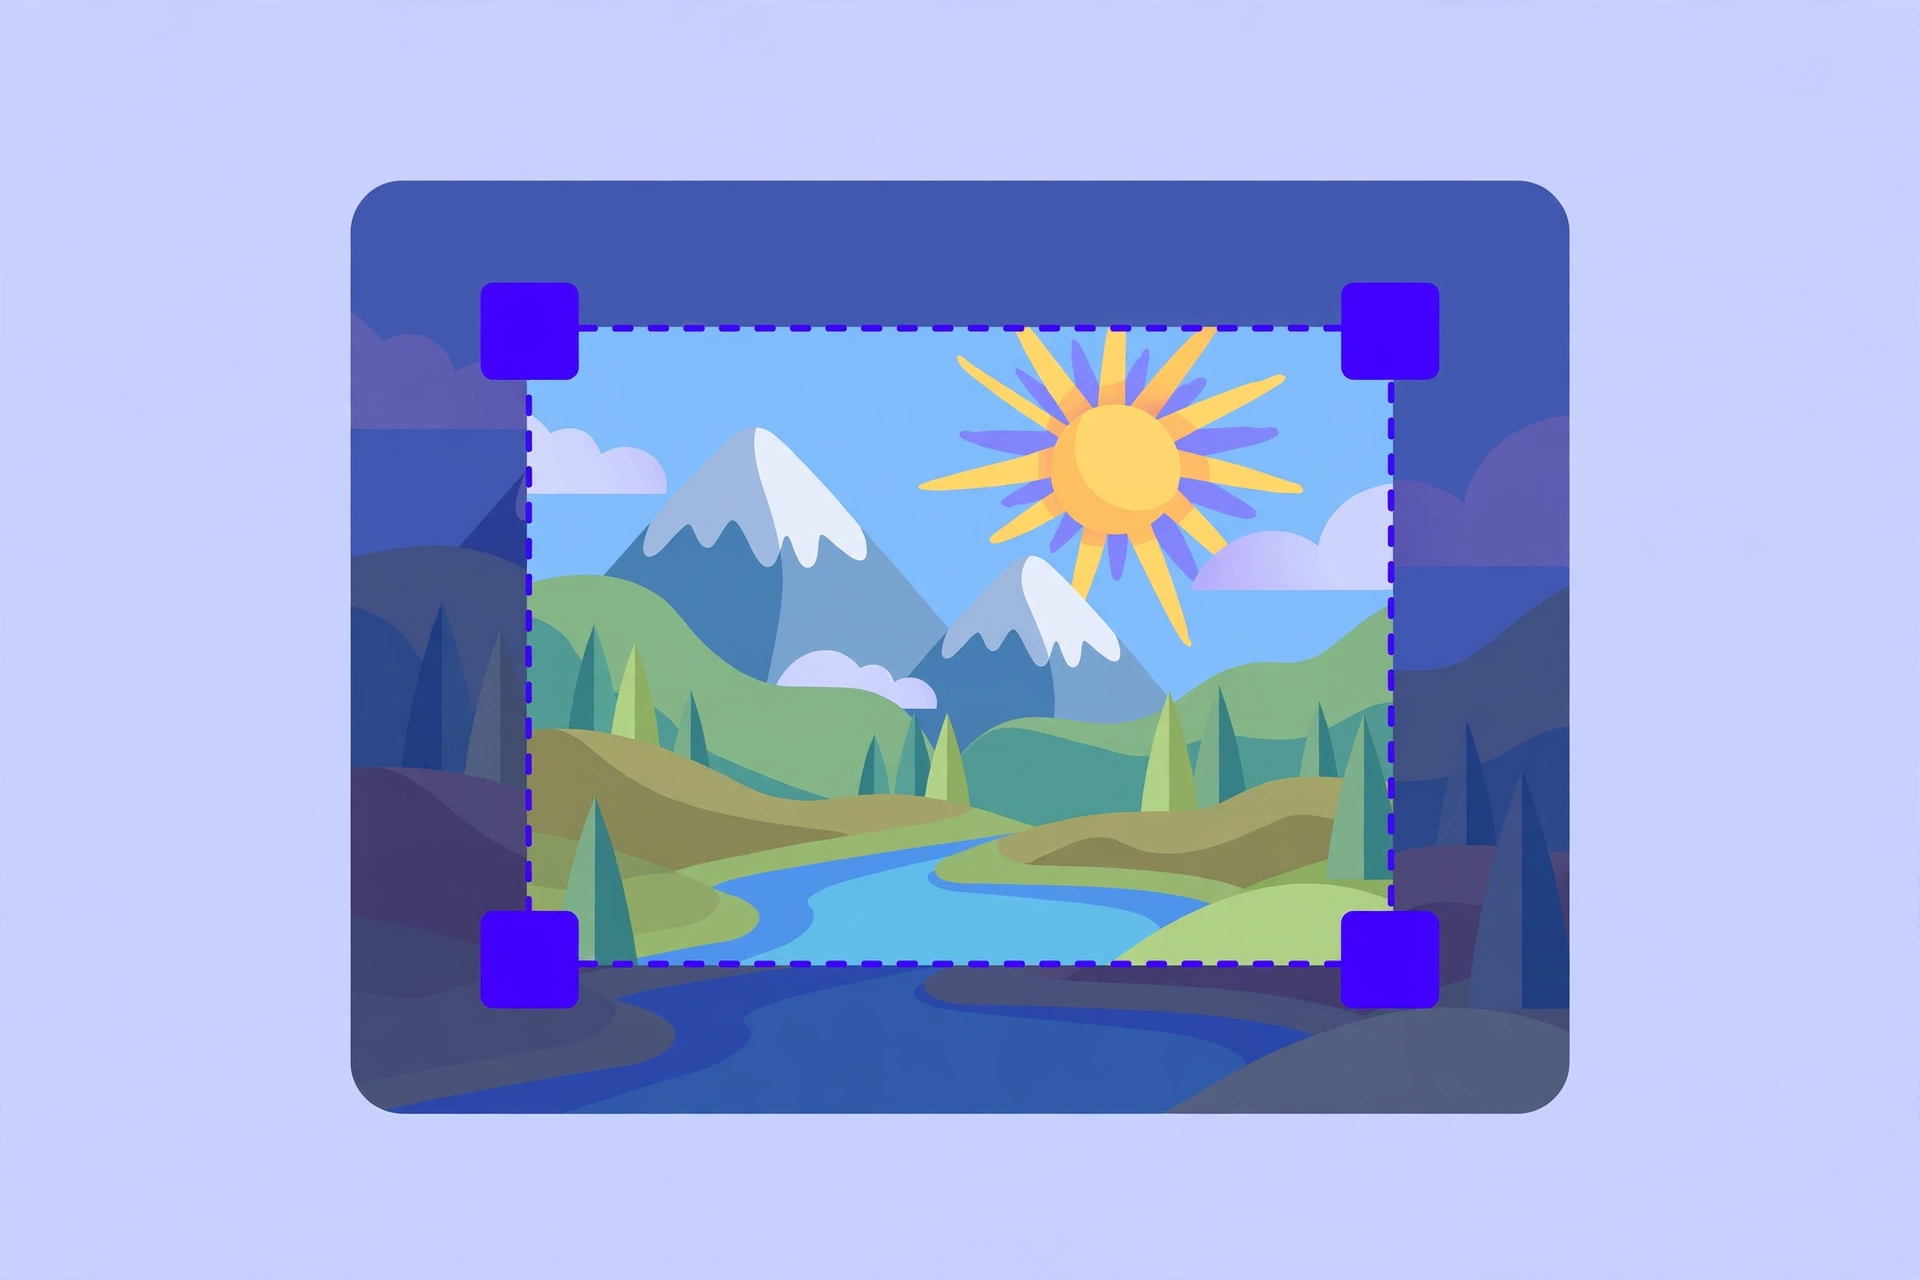
To crop an image online, open a free browser-based crop tool, drop in your photo, drag the crop box to frame what you want to keep, pick an aspect ratio (1:1, 16:9, 4:5, or freeform), and download the result. The whole thing takes under a minute.
You took the photo, and it's almost perfect. Except there's a trash can in the corner, your thumb sneaked into the frame, and there's way too much empty sky at the top.
Cropping is the fastest photo fix there is — ten seconds of dragging a box, and the bad parts are gone. You don't need Photoshop or any app installed. Here's how to crop an image online in your browser, which crop ratio to pick, and the mistakes that make cropped photos look worse.
Why crop in the browser instead of an app
Your phone already has a crop feature, but it's buried two menus deep and sometimes saves over the original. A browser cropper is dedicated and predictable — and since cropping is 90% of what most people open a photo editor for anyway, you can skip the editor and crop directly.
- No install: works instantly on any device — your phone, a school Chromebook, a borrowed laptop. Apps need downloads, permissions, and storage space you may not have.
- No learning curve: cropping in a browser tool is one gesture — drag the box, download. Photo editors bury the crop button behind menus and modes.
- Your photo stays private: a good online cropper processes the image right in your browser, so the photo never leaves your device. Compare that to an app that wants access to your whole camera roll.
- Good enough for everything you actually do: social posts, profile pictures, blog images, marketplace listings, and print-at-home photos don't need Photoshop — they need a rectangle with the bad bits cut off.
How to crop an image online (takes under a minute)
This works on Windows, Mac, Linux, Chromebook, and your phone's browser — nothing to install:
Keep the main subject's eyes roughly a third of the way down from the top of the crop box. That single habit makes phone portraits look instantly more professional — it's the difference between a snapshot and a photo that feels composed.
- Open a free online Image Cropper tool.
- Drop in your photo — drag it in or click to browse your files.
- Drag the corners of the crop box to frame exactly what you want to keep. The area outside the box gets cut away.
- Pick an aspect ratio: 1:1 for square profile pictures, 16:9 for widescreen, 4:5 for Instagram posts, or freeform to drag any shape you like.
- Preview the crop, adjust until it looks right, then download the cropped image — your original file stays untouched.
Crop any photo in seconds — drag the box, pick an aspect ratio (1:1, 16:9, 4:5), and download. Free, no sign-up, works right in your browser on any device.
Image Cropper →Freeform vs. fixed aspect ratio: which to pick
The aspect ratio matters because the platform decides how your image gets displayed — and if you don't choose a ratio, the platform picks one for you by auto-cropping the middle. Instagram's auto-crop of a 16:9 photo into a square has ruined more good photos than any filter.
Rule of thumb: if the image is going somewhere specific, crop to that place's ratio before you upload. You're the one who knows where the subject is; the platform's auto-crop doesn't.
- Freeform: you drag the box into any shape. Best when you're just removing distractions from the edges and the final shape doesn't matter — cropping a product photo for a listing, trimming a screenshot, cutting someone out of a group shot.
- 1:1 (square): profile pictures, Instagram posts. Square crops force you to get tight on the subject, which is usually a good thing.
- 4:5 (portrait): Instagram feed posts and Pinterest pins. Taller than square, so it grabs more screen space on phones.
- 16:9 (widescreen): YouTube thumbnails, presentation slides, website banners. Wide crops want strong horizontal elements — horizons, skylines, rows of people.
- 3:2 and 4:3: match what most cameras shoot. Use these when you plan to print, since photo paper sizes (like 6×4) follow these ratios.
Four cropping mistakes that make photos look worse
- Cropping too tight: leave breathing room around the subject, especially faces. A crop that clips the top of a head looks like an accident; one with air around them looks intentional.
- Upscaling after cropping: if you crop a small area and blow it back up, it goes soft. Crop, then resize DOWN if you must — never up.
- Centering everything: slamming the subject dead-center works for passport photos and almost nothing else. Put them on a third-line and the photo looks instantly more balanced.
- Cropping the compressed copy: crop the original photo, not the one you already emailed twice. Every extra save stacks up artifacts.
Crop first or resize first?
The order question trips people up, but the logic is simple: cropping decides WHAT you see, resizing decides HOW BIG it's shown. Decide the what first — crop for composition, then compress the result if the file is going online.
- Crop first when the file is going online: crop away the unwanted parts, then resize or compress the result. You're shrinking only the pixels that matter.
- Resize first when the image is enormous and your tool chugs: a 30 MB phone photo cropped on an old laptop can feel laggy. Shrinking it to a manageable size first makes the cropping step smooth.
- Never do both on the same pixels twice: crop once, download, then compress that downloaded file if needed. Every extra round-trip through a save dialog costs a little sharpness.
Frequently asked questions
Is cropping an image online free?
Yes. VIPToolsKit's Image Cropper is free with no sign-up and no watermark. Your photo is cropped right in your browser, and there's no daily limit on normal use.
Does cropping an image reduce its quality?
No. Cropping cuts away pixels from the edges, but the pixels that stay keep their original sharpness. A 4000×3000 photo cropped down to 2000×1500 is still perfectly crisp at 2000×1500 — you just can't enlarge it back to the original size without losing sharpness.
What aspect ratio should I crop to?
It depends on where the image goes. For profile pictures use 1:1 (square). For YouTube thumbnails and Facebook covers, 16:9. For Instagram posts, 4:5 or 1:1. For printing, match your photo's native ratio or the paper size (like 4:3 for 6×4 prints). A good online cropper offers preset ratios so you don't have to do the math.
Can I crop an image to a circle?
Sort of. You can crop the photo to a square and then round the corners or display it in a circular frame — that's how profile pictures work on most social apps. The file itself is still a rectangle; the app just hides the corners. Some crop tools do this masking for you.
Will cropping make my image file smaller?
Usually, yes. A smaller image means fewer pixels to store, so the file gets lighter. But cropping doesn't compress — if the cropped result is still too heavy for email or a website, run it through an image compressor afterward for a much smaller file.
Is it safe to upload my photos to an online crop tool?
It can be, as long as the tool processes your image in your browser and doesn't store it. VIPToolsKit's cropper works entirely in your browser — your photo never gets uploaded to a server or saved anywhere. That said, if you're cropping something private (ID documents, family photos), a browser-based tool you trust is the safe route; avoid tools that force you to upload to their servers first.