How to Compress Images Without Losing Quality (Free)
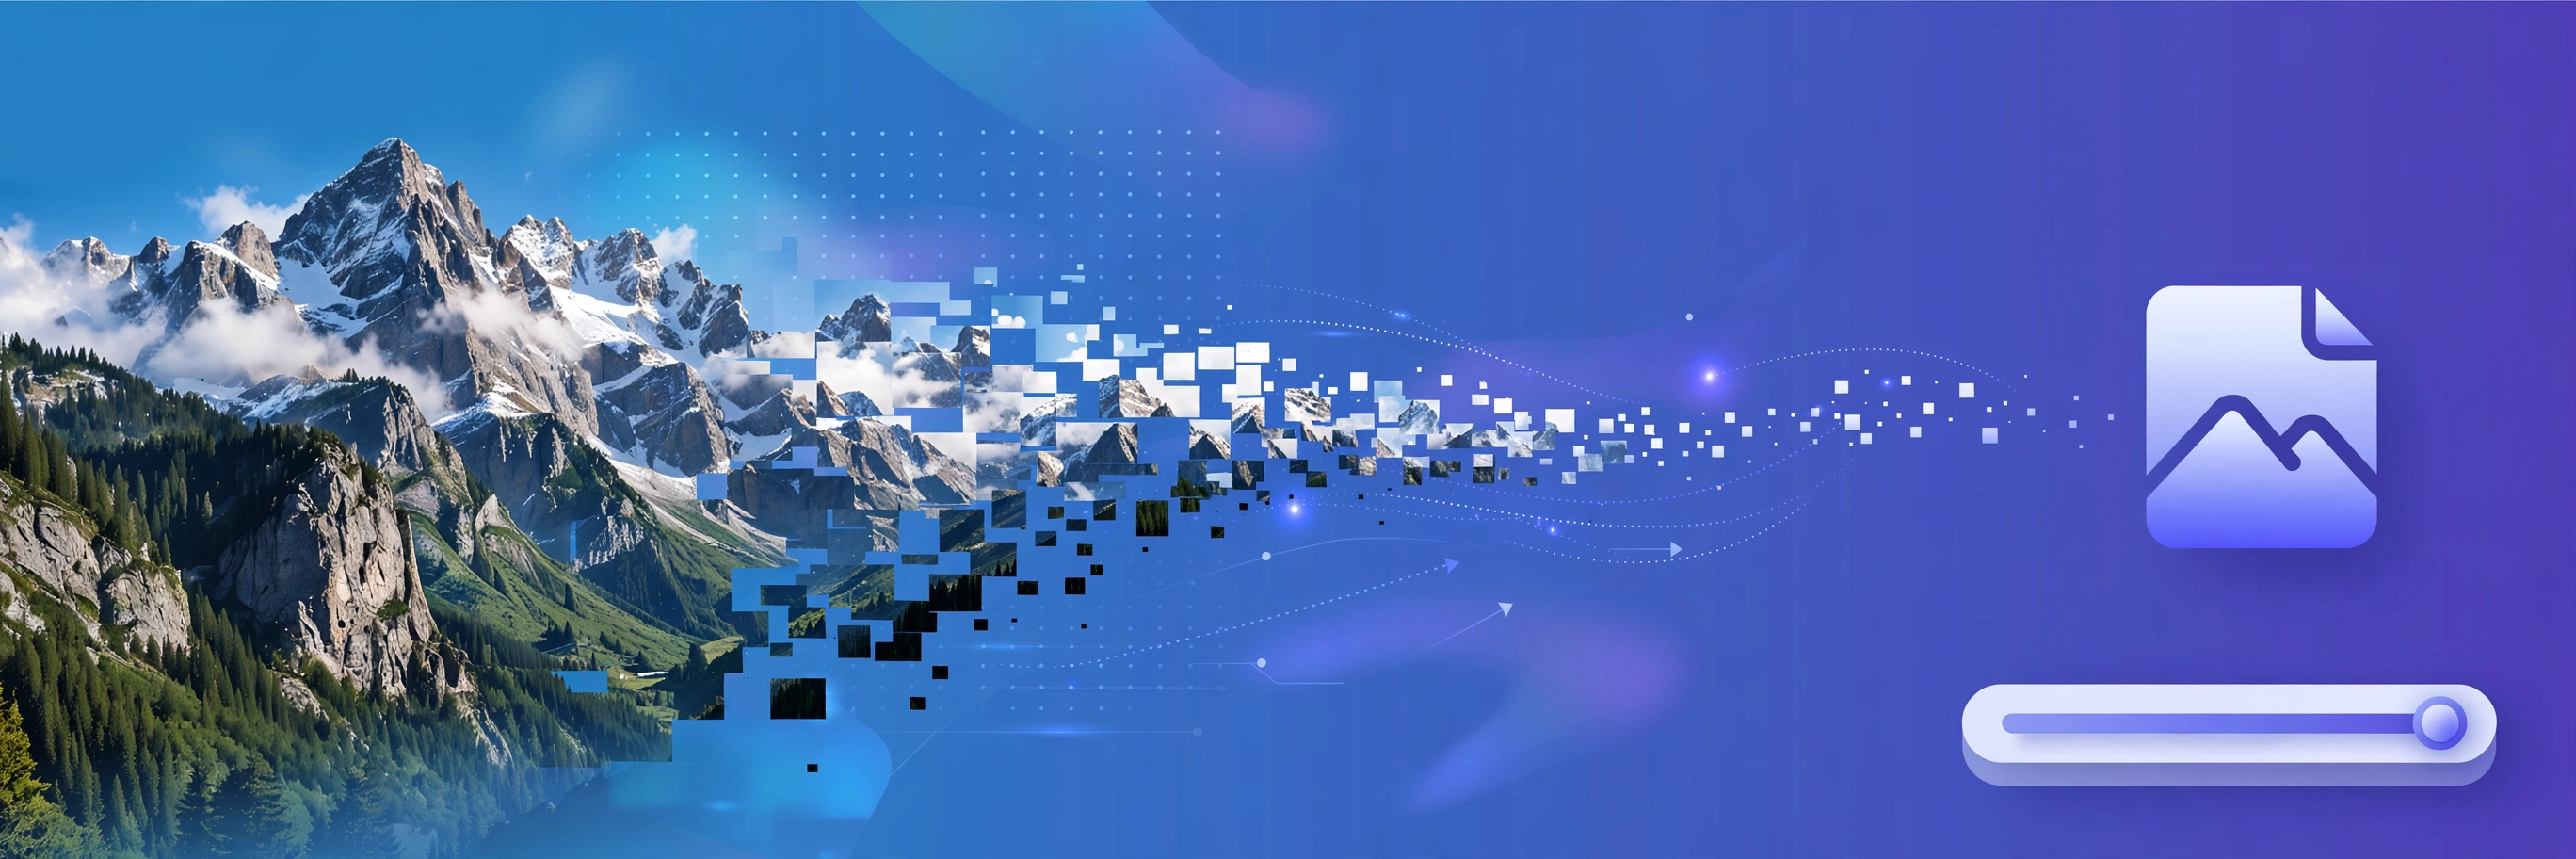
To compress an image without losing visible quality, save photos as JPG or WebP at 80–90% quality and shrink oversized dimensions to what you actually need. That combination typically cuts file size by 60–80% with no visible difference — a free online image compressor does both in seconds.
A 12 MB photo from your phone takes forever to upload, slows your website to a crawl, and gets rejected by email attachments with a 25 MB limit. The fix is compression — shrinking the file size dramatically while keeping the picture looking exactly the same.
But squeeze too hard and the image turns into a blocky, washed-out mess. This guide shows you how to compress images without losing visible quality: the right formats, the right quality settings, and a free online tool that does it in seconds.
Why images are so huge in the first place
Big files aren't a flaw — they're a side effect of cameras capturing maximum detail. The problem only starts when you move that file somewhere it doesn't belong: a webpage, an attachment, a chat message.
- A 12-megapixel phone photo contains 12 million pixels of data — saved without compression, that's 30+ MB per picture.
- Cameras save at maximum quality because they can't know how you'll use the photo; the file is intentionally overkill for a website or an email.
- The two things that balloon a file are pixel dimensions (a 6000 px-wide photo shown at 1200 px) and unnecessarily high quality settings.
- Rule of thumb: most of that data is invisible in normal use. Compression simply removes the parts your eyes can't detect.
Lossy vs lossless compression: what you're trading off
- Lossy compression (JPG, WebP) throws away fine detail the human eye barely notices. Files get dramatically smaller; at sane settings the loss is invisible. But the data is gone — you can't go back to the original from a lossy copy.
- Lossless compression (PNG, lossless WebP) preserves every pixel exactly. Perfect for logos and graphics, but photos shrink much less — often only 10–30%.
- The golden rule: keep your originals untouched, and compress copies. Never re-compress an already-compressed JPG — each save degrades quality a little more.
- Rule of thumb: photos → lossy (JPG/WebP). Logos, icons, screenshots with text → lossless (PNG).
Pick the right format before you compress
The format you save in matters as much as the compression itself. Compressing a photo that's still saved as PNG is fighting with one hand tied — switch to a lossy format first:
- JPG: the universal photo format. At 80–90% quality it delivers tiny files with excellent quality — the default choice when you're unsure.
- WebP: the modern upgrade — typically 25–35% smaller than JPG at the same quality, with transparency support. Ideal for websites and everyday sharing.
- PNG: for logos, icons, and graphics with sharp edges or transparency, where pixel-perfect quality matters more than file size.
- HEIC: what iPhones shoot by default — efficient but poorly supported. Convert to JPG first, then compress.
- Rule of thumb: converting a PNG photo to JPG or WebP first can halve the file before compression even starts.
How to compress an image online in seconds
The fastest method needs no software and works on any device — your browser does all the work:
If the tool offers a quality slider, 80–85% is the sweet spot for most photos: dramatically smaller files with no visible loss. Drop below 70% only when file size matters more than looks.
- Open a free online image compressor such as VIPToolsKit's Image Compressor.
- Upload your image by dragging it in or clicking to browse.
- Choose JPG or WebP and set the quality to 80–85%.
- If the image is oversized, resize it too — a 1920 px-wide photo is plenty for the web.
- Download the compressed file and compare it side by side with the original before deleting anything.
Shrink JPG, PNG, and WebP images in seconds with adjustable quality. Free, no sign-up — your files never leave your browser.
Image Compressor →Resize first, compress second (the 80% trick)
- Most phone photos are 4000–6000 px wide; almost no use case needs that many. A website hero image needs 1600–1920 px; an email attachment or social post needs 1080–1600 px.
- Halving the dimensions cuts the pixel count — and the file size — by roughly three quarters, before compression even begins.
- Example: a 12 MP phone photo (4.7 MB as JPG) resized to 1920 px wide and saved at 85% quality often drops to 400–600 KB — about 90% smaller — and looks identical on screen.
- Rule of thumb: figure out the largest size anyone will ever view the image at, and resize to that. Anything bigger is wasted bytes.
Common compression mistakes to avoid
- Compressing the original: always work on a copy. Once lossy compression discards data, it's gone forever.
- Re-saving a JPG repeatedly: each save re-compresses and loses a little more. Edit your master copy, then export the compressed version once at the end.
- Using PNG for photos: a photo saved as PNG can be 5–10x larger than the same photo as JPG. PNG is for graphics, not photos.
- Going below 70% quality for anything you care about: fine for thumbnails, visibly artifacted for full-size photos.
- Forgetting transparency: converting a logo with a transparent background to JPG fills the background white. Use PNG or WebP for those.
Frequently asked questions
How much can I compress an image before quality suffers?
For photos, yes — a JPG or WebP at 80–90% quality typically shrinks by 60–80% with no difference the human eye can spot. Below about 70% quality you start to see blocky artifacts in photos, so that range is the sweet spot. For graphics like logos, a lossless PNG keeps every pixel perfect, though the file stays larger.
Does compressing an image change its dimensions?
No — not necessarily. Compression only re-encodes the pixels more efficiently. Resizing actually throws away pixels. The best results come from doing both: shrink oversized dimensions to what's actually needed (say 1920 px wide for a web hero), then compress at a good quality setting. Many compressors handle both in one step.
Which compresses better — JPG or WebP?
WebP usually wins: it produces files 25–35% smaller than JPG at the same visual quality and supports transparency like PNG. JPG is the safe universal choice — everything opens it. Use WebP when you control the destination (your website, your files); use JPG when the recipient might use older software.
Can I restore quality after compressing?
No. Compression discards data, and once it's gone, no tool can recover it. That's why you should always keep the original file untouched and compress a copy. The good news: with the right settings you won't need to restore anything, because the compressed copy looks identical.
Why does my compressed image look blurry?
The image may have been saved at low quality to begin with, or it was already a small/low-resolution file — compression can't invent pixels that aren't there. Check the original's resolution first: a blurry 300-pixel thumbnail will never compress into a crisp photo. Also watch for over-sharpened or already-artifacted originals, where compression just makes the existing flaws more visible.